Step 1. Germination
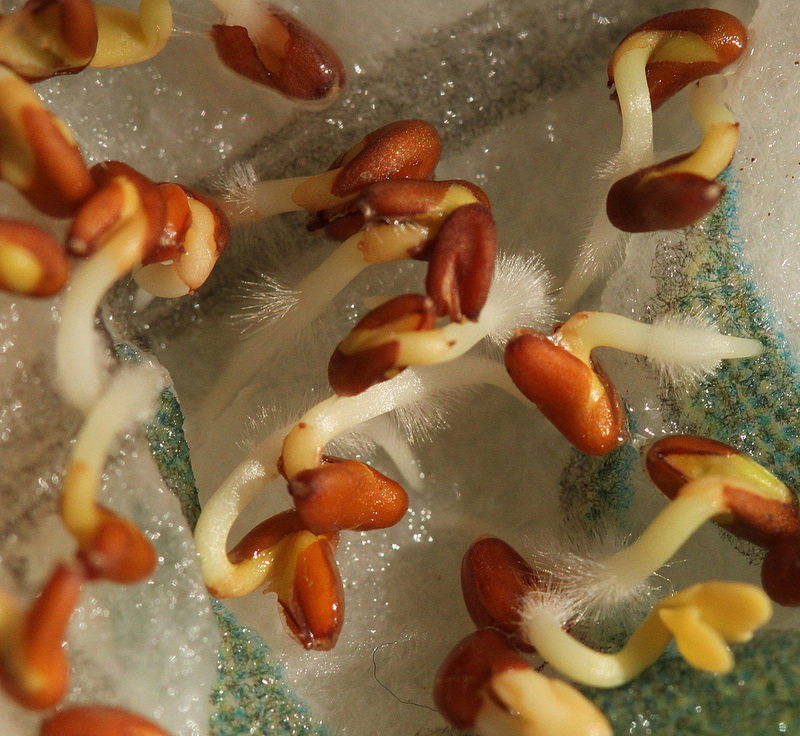
For our garden, we discovered that the best way to start our plants is by germinating the seeds before planting them in soil.
You can do this by placing some seeds into a damp paper towel, folding it carefully and placing them into a Ziploc back to retain the moisture. It is also important to add warmth so keep your bags near the window or a source of warmth such as a grow light. This helps stimulate the plants into their growing phase. This method is also great for students to see the various types of seeds and what they look like as they grow and sprout their first leaves, but be careful! If you wait too long to do the next step the seeds will grow their roots into the paper towel and they are difficult to remove. If this happens you must plant the germinated seeds with the biodegradable paper towel. Be sure to check your seeds daily for progress and document their progress. |
Step 2. Planting In Soil
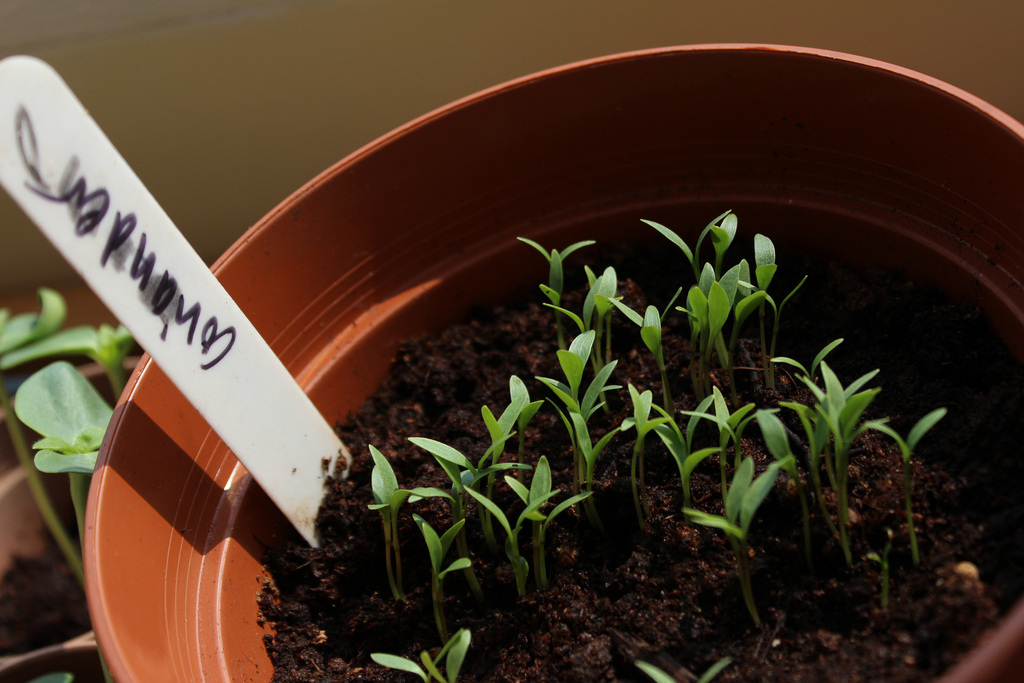
After germinating, place the plants into some soil and add some water to keep them moist. They will need more nutrients at this point, so doing this quickly is very important.
Make sure you water your plants every other day until they have become established roots. |
Step 3. Transplanting

Once your plants have grown, transplant each of your plants into your garden outside. Before transplanting, ensure the soil is not too damp. If the soil is holding too much water, wait a day or two then try again.
After you have transplanted your plants and moved them from the pots into the soil, give them at least 1-2" of water. As they grow, you will need to ensure that you deep water them to train them to search for their moisture deeper into the lithosphere. This will enable them to survive any periods of drought. |
Square Foot Gardening
Have you ever wanted to start gardening with your children but you are unsure where to start? This blog is for exactly that. We are starting from the ground up learning about the entire growing process from germinating seeds to cloning and pollination. You are welcome to join us in our journey to discover what makes plants grow and learn how to do other fun experiments along the way.
Photos used under Creative Commons from Danny Nicholson, Joybot, OakleyOriginals
